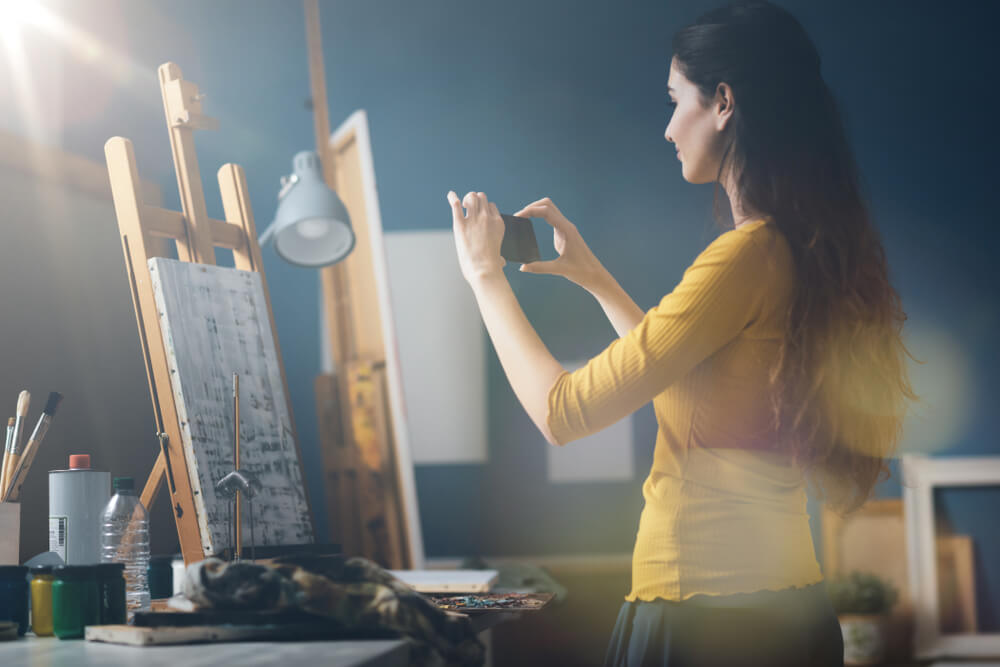
How to photograph artwork with iPhone: Step-by-step tips and tricks

Perhaps you are creating a digital portfolio for your artwork. Well, it’s only necessary that you learn the best way to photograph your masterpieces, right? Now, you shouldn’t just depend on the well-known fact that your iPhone camera is good. To photograph artwork with iPhone, you must act like an expert media curator.
In this post, we wrote tips on how to photograph artwork with iPhone.
Table of Contents
How to photograph artwork with iPhone: What to expect
Before you read our guidelines about how to photograph artwork with iPhone, you must get rid of or affirm your preconceived notions. This way, you can avoid mistakes and disappointments.
In taking photos of artwork using just an iPhone, you may find yourself filled with doubts and bouts of perfectionism.
You may think: “Do I have the right tools? Am I even doing it right by using my iPhone?”
Well, the truth is…
1. You don’t really need professional equipment.

Yes, you can take great photos of artwork, especially if you have professional photography equipment such as DSLR, tripod, softbox, strobes, etc.
Albeit some of those tools are optional, having them will help you avoid glare and prevent the colors from looking unnatural. For example, you can use a clip-on light meter for your iPhone. A portable light meter can help you measure temperature, illuminance, spot, and more. You can also use it as a flash or ambient light for your video or photo.
And since professional cameras have bigger sensors than smartphones, that means more amount of light can enter the camera. This makes it easy for you to take evenly exposed photos.
However, you shouldn’t worry if you don’t have those professional and expensive tools. They aren’t always necessary for taking a stunning picture of your drawings or paintings.
2. Your iPhone is already more than enough.
Your iPhone camera, a few handy tools you can find in your room, and an even-lit space— if you have these, you will do just fine.
If you have one of the latest iPhone models and their improved cameras, then you’re good to go!
Moreover, you just have to tinker your iPhone camera’s settings and voila—you can capture the best possible image of your artwork.
3. You have to consider a lot of other elements in the picture.
Besides the artwork itself, you might have to think about these other aspects of the pictures, as well.
The perspective
Taking a photo from the wrong point of view or POV can distort your painting. Make sure to shoot from the right angle before you photograph artwork with an iPhone.
The frame

If you’re taking photos of your framed 2d art, take it out of the frame. Otherwise, it will make a glare appear on your photo because of the light reflecting on the plastic or glass cover.
The lighting
It’s always better to use natural light. Artificial light will make your artwork’s colors look muted.
And remember not to take photos with the sun behind you—you will cast a shadow on your artwork. Instead, take a picture with the light coming from either your left or right side.
How to photograph artwork with your iPhone

There are different artworks and therefore the steps in photographing them will also vary. You have your 2d art and your 3d art. However, let us assume that:
- You’re taking a photo of your acrylic painting
- You have an easel
- You have a bare wall
With these steps, you can take good-quality photos.
The materials you will need:
- Your fully-charged iPhone. Don’t operate on a half-charged battery! You might take a few tries before you take a good photo, thus draining your battery.
- A room with even lighting or outdoor space without too much glare. It’s best if you choose a room with natural lighting or, if you’re outside, pick a shady area.
- Tripod with iPhone adapter. Your hands might start to shake later if you get tired. It’s best if you rely on a tripod with an iPhone adapter. You can also use a 3-in-1 selfie stick tripod, which you can use as a selfie stick, iPhone tripod, and DSLR camera tripod.
- A portable wooden easel. Get a portable wooden easel so that you’ll work with something lightweight and aesthetically pleasing. You can also choose the multi-angle easel with wheels, so you can move it around easily. If you don’t have one, you can put your artwork on the floor and take a picture of it from the top.
- Clear or matter magic tape. If your artwork is a drawing on a piece of paper, then you will need this to tape it on the bare wall. We suggest you get a magic tape with a matte finish. It’s easy to cut and won’t peel off the paper when you take it off.
- Grey cloth. If you’re intending to take a lot of photos, we recommend you get a reusable grey cloth. It should be okay to wash in a washing machine. Now, if your room or studio has no bare wall, then you should include this as the backdrop for your artwork.
The step-by-step capturing
1. Prepare the room or studio.
If you’re taking a photo indoors, make sure that there’s more than enough natural light in the place.
On the other hand, if you’re taking photos outdoors, pick an area where there’s enough light but not too much of it. Otherwise, you’ll have to deal with glare.
So, to avoid it, position your camera and artwork in a shady area.
If you’re taking a picture indoors, follow these steps in preparing the room.
- First, turn off any artificial lights such as an indoor lamp or a ceiling light.
- Open all the windows. Draw your curtains and blinds. Make sure the natural light spreads evenly all over your bare wall.
- Get rid of the clutter as well. Clear the stuff that might block your way.
- During the photo-taking session, you might have to move further or closer to the painting or try different angles. So, you have to make sure the area is clear.
- Meanwhile, if you don’t have a bare wall, then set up the grey cloth.
Why use natural light in capturing your painting?
Well, it’s pretty simple—natural light helps you capture all the colors in your painting. Daylight consists of all the colored wavelengths while artificial light does not.
That is why taking pictures of drawings indoors will give you muted colors. The camera won’t detect the right colors if the light shining on your painting is not the “full-package”.
2. Set up your iPhone camera.

First, clean your iPhone camera’s lenses.
According to fine art photographer Henry Oji, a good wipe of your camera lenses using a soft microfiber cloth will already make a huge difference. We suggest getting an oversized microfiber cloth, so you can use it on larger devices like iPads.
Prep the camera settings.
You also have to ensure that your settings are ready and fine-tuned. Turning on the Grid feature, for instance, will help you ensure the lines aren’t crooked.
Here’s how to do it.
- Launch your Settings.
- Go to the Camera.
- Switch on the Grid option.
- Close the Settings and open your iPhone camera app.
If you have a tripod, then place your iPhone on the tripod with an iPhone adapter.
3. Position your artwork on the easel.

- Position your easel at the center of the scene.
- Set it at a 90-degree angle.
- Place your painting on the easel.
- Check on your iPhone camera’s viewfinder if the painting is truly at the center.
4. Capture the artwork.

Since it’s on an easel, you also have to level with its angle. Let the grid on the viewfinder of your camera guide you.
On your viewfinder, you will see two crosshairs—a yellow one and a white one—if you’re not level with the easel’s angle. Adjust it until you only see one yellow crosshair.
If you notice the edges are still curved, you must move further away from the artwork.
Satisfied with the angle? Tap on the shutter button.
Don’t settle on one shot though. Capture multiple photos and choose your best ones.
The more options you have, the better you will feel after choosing your best photo since you’ve considered other similarly good pictures.
5. Post-process the photo.
If you’re not satisfied with the background of your artwork, then you should crop it. Just use the cropping tool on your iPhone.
Here’s how to do crop the artwork out of your photo.
- Tap Edit.
- Select the Crop icon.
- Dial to an angle until the edges straighten.
- Pull the corners until you’re happy with its new size.
- Tap Done.
Do you want more contrast? Exposure? Bolder colors? The following editing apps for the iPhone will help you improve your photo.
Adobe Lightroom

Requires iOS 11.0 or later
Lightroom is one of the well-known powerful editing apps you can use on your iPhone. It’s compact and it has a ton of smart editing features.
Don’t love the muted or seemingly inaccurate colors on your artwork? You can enhance them using the color mixer (hue, luminance, saturation, etc.) if you’re not satisfied with the original shot.
Additionally, you can also adjust the curves (exposure, tone, contrast, and more) and take photos using its camera and presets.
SnapSeed
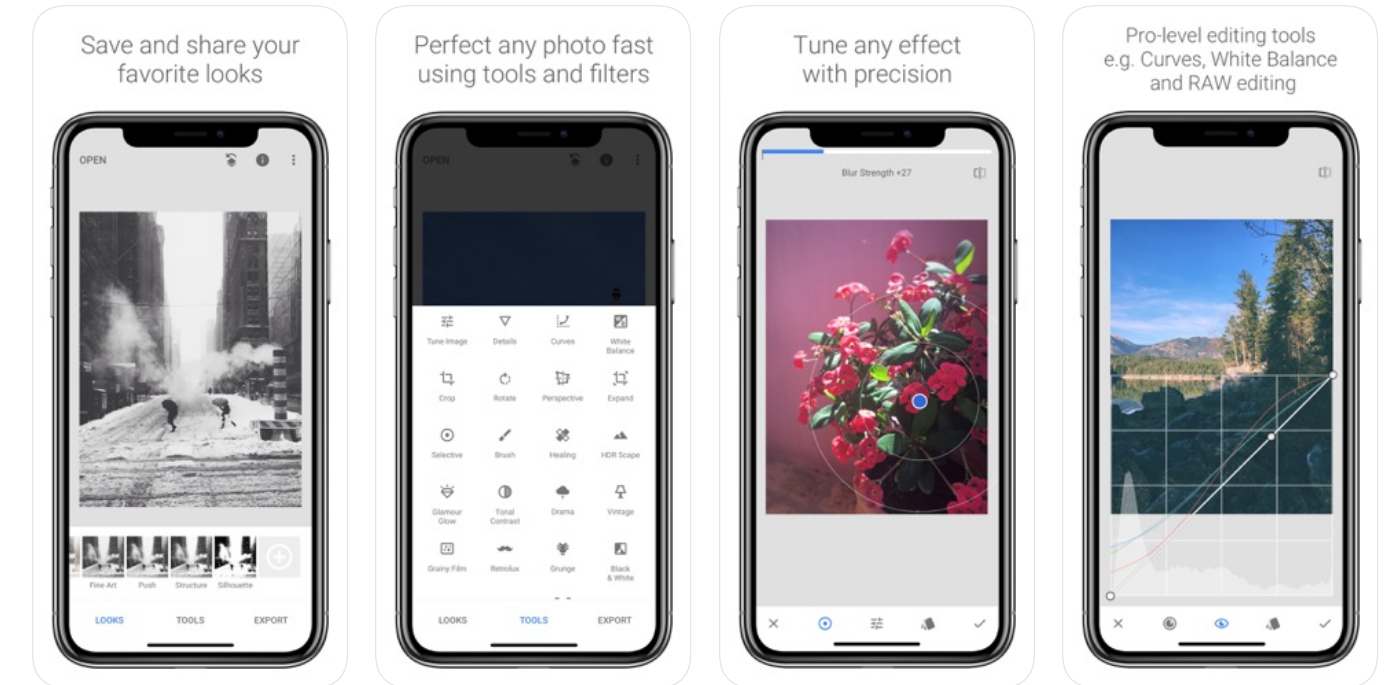
Requires iOS 9.0 or later
SnapSeed is another advanced but free editing tool. You can enjoy using its features such as the HDR Scape, for that sharp, multi-exposed photo.
You might also like the Details feature, where you can improve the surface structure and make it more pronounced.
Meanwhile, if you’re not pleased with the blown highlights, you can adjust its curves and white balance on the app.
Moment app

Requires iOS 11.0 or later
Moment is an app you shouldn’t miss trying. It has awesome features such as Slow-Shutter Mode and Focus Peaking, which makes the sharp edges in the viewfinder more pronounced.
Do you have no choice but to take pictures indoors and use minimal natural light? The Split Focus and Exposure feature will help you take evenly-exposed photos.
And for the overexposed or underexposed areas in your painting, the Moment app draws zebra stripes on them for your awareness.
How to photograph artwork with iPhone without any glare
In one of our posts, we discussed the reasons why your iPhone camera has glare. Below, we list some tips on how to avoid glare in your artwork photos.
Buy polarizer filters.
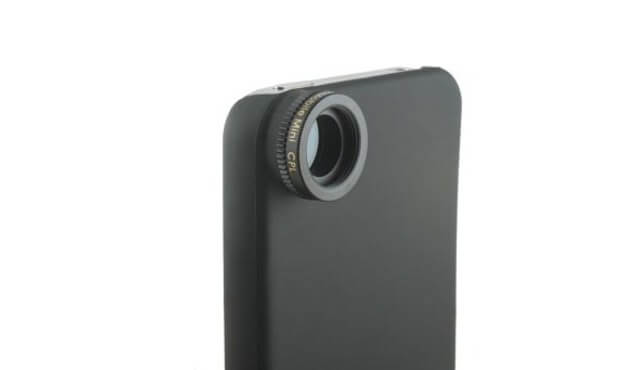
Invest in a clip-on iPhone lens or a polarizer filter that you can find on Amazon or any photography equipment shop.
Clip-on lenses or polarizer filters are especially helpful if you’re taking photos of a framed artwork. They can reduce the light reflected by the glass or plastic cover.
At the same time, they also make the colors more vibrant. If you’re okay with that effect, then, by all means, go buy a clip-on lens or a polarizer filter. Before you buy them though, make sure they fit your iPhone lens.
If you can take the drawing or a portrait though, then you don’t need to use a filter.
Shoot from at the right angle.
What if your painting has a glossy finish?
Sometimes, all it takes is several adjustments and patience. Move to different positions until you can’t see shine or glare on your viewfinder.
Do your windows give off harsh lighting? You can also create a DIY softbox or diffuser by draping your bedsheet on them. If you have white ones, then you should use that.
Take the photos outside.
You see those UFO-like light reflected on your painting? If it gets too dark without turning on the artificial lights in your room, then just go outside.
Look for a shady area outside, put your easel in there, and position your tripod. Try taking a photo of your artwork. Make sure you’re not casting a shadow on it.
On the other hand, you can always invest in a photography lighting kit. By getting one, you’ll have reliable lighting for your photos, rain or shine.
Related questions
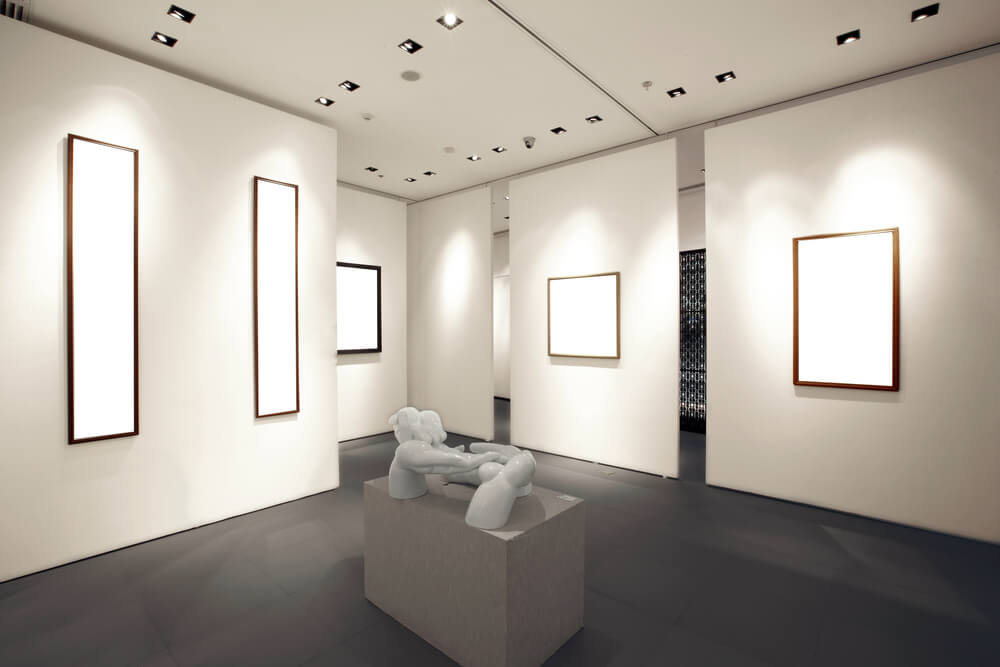
Why do museums don’t allow the using of flash?

Plenty of museums don’t allow flash photography. They believe that the sudden intensity of brightness will fade the paintings’ colors over time.
However, some researchers, such as Martin Evans, have broken down this notion and concluded that flash has little to no effect on the paintings. Still, most of the art galleries and museums do not allow the use of flash for three possible reasons:
- Tradition. They have believed for so long that they are unwilling to shake it off.
- Security. They don’t allow the use of flash because it will spark intrigue, causing crowds to form.
- Profit. The museums prohibit the use of flash, along with photography itself, because they want to sell their own photos and brochures to the museum-goers.
What is the best camera for photographing artwork?

Should you take photos occasionally, professionals suggest using a DSLR, especially those under the Canon brand. The Canon EOS Rebel T5, particularly, has a monster 18-megapixel sensor.
The big sensor is helpful when you’re taking pictures of larger paintings and drawings since it will allow more light to enter your camera. As a result, you can also capture more detail, giving you a sharper photo.
You also have to prepare your tripod, polarized film (to minimize or diffuse the glare), and color calibration system.
Conclusion
As you can see, taking pictures of artwork is not as simple as it sounds. You may be good with painting, but photography also has a certain art to it.
The fact that how you take pictures of your artwork can make or break its presentation—that is the very proof of its art.
Do you know any other way to take good pictures of your artwork?
Let us know in the comments below! We’d love to hear your thoughts.